Changing a Cartridge on Your Turntable: Instructions Explained
Installing a new cartridge on your turntable can be a common task, but for some, it may seem complex. This article aims to simplify the process and provide a step-by-step guide to ensure a smooth installation.
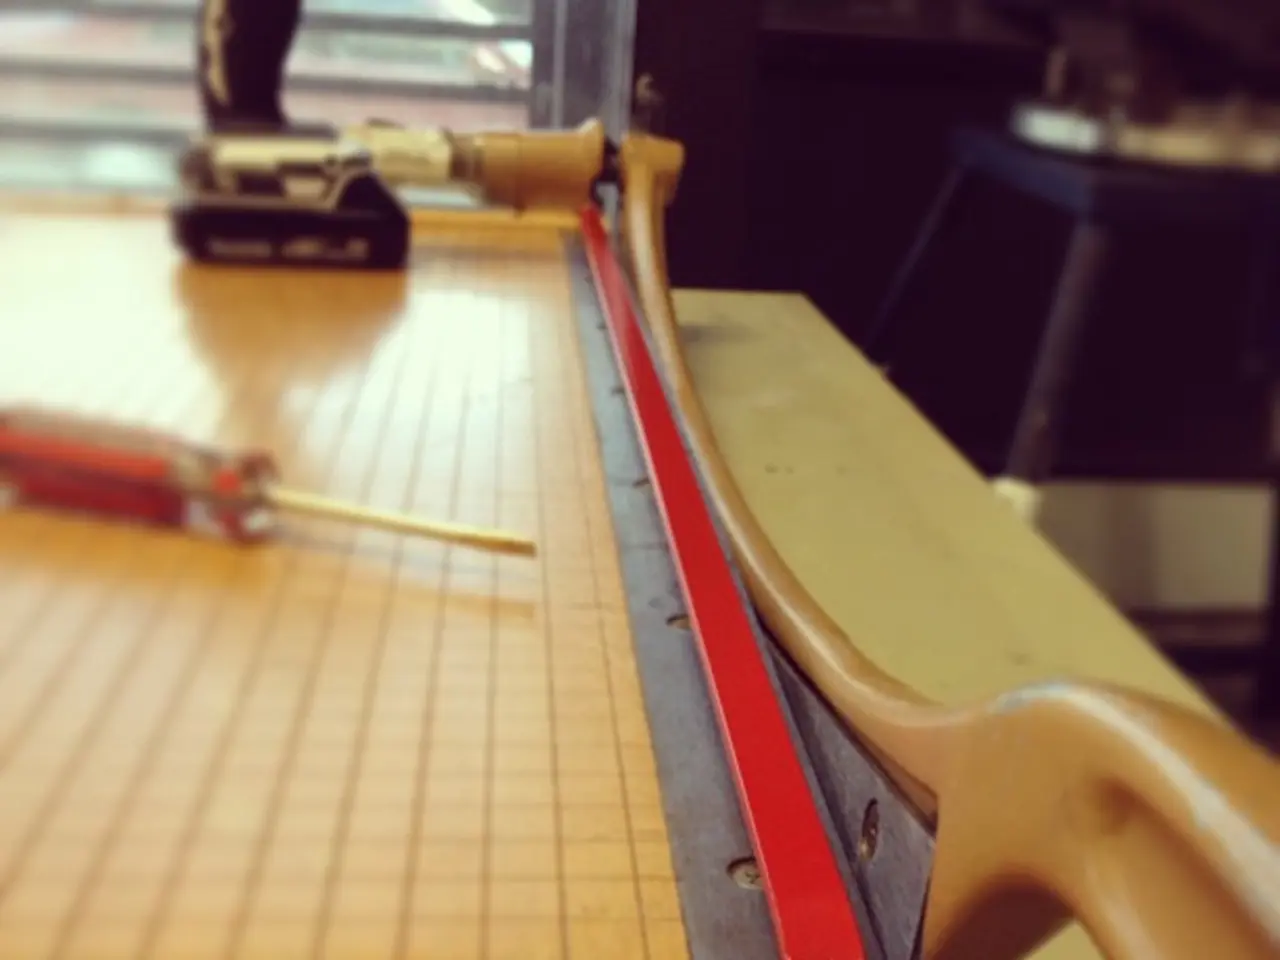
Before you begin, gather the necessary tools. These typically include a 2mm Allen key or small flat-bladed screwdriver, a small long-nose plier, and a tracking weight gauge or cartridge alignment tool. For a more precise installation, you might also need a cartridge alignment protractor, a stylus force gauge, and an anti-skating adjustment tool or dial on the tonearm. Some of these tools may come included with the cartridge or turntable.
Firstly, check the new cartridge for proper stylus cover mounting. Cartridges are fragile, so any lack of care can result in damage. Once checked, mount the cartridge onto the arm using the supplied fixings, being careful not to over-tighten things.
Next, connect the four lead-out wires of the new cartridge to the corresponding colored pins on the back of the cartridge. Be careful when disconnecting the old wires using long-nose pliers.
The tracking weight should be set properly using the scales, staying within the recommended range provided by the cartridge manufacturer. Adjusting the tracking weight can affect the sound quality. Too heavy can result in a dull and lifeless sound, while too light can result in a thin or aggressive presentation.
The arm should be balanced and an additional 1.5-2.0g of weight should be added. Once the cartridge is aligned correctly, the mounting bolts should be tightened, but not over-tightened to avoid damaging the cartridge body.
The cartridge alignment should be checked at two different points: one towards the centre of the platter and the other near the outside edge. This is crucial for sound quality and record safety. If the alignment requires adjustment when moving from one position to another, make the necessary adjustments using the cartridge alignment protractor.
If the new cartridge has a moving magnet design, it's usually possible to get a replacement stylus assembly, but this won't be cheap, typically costing around 60% of the total cartridge price. For a moving coil cartridge, damage usually means a replacement or repair, which can be costly.
Lastly, if this is not the turntable's first cartridge, remember to remove the old one and fit a stylus guard before anything else to prevent damage.
With these steps in mind, you're now ready to install your new cartridge and enjoy improved sound quality on your turntable. A budget of £20/$25 can cover the purchase of basic tracking weight gauge and cartridge alignment tools. Happy listening!
[1] Cartridge Installation Guide [2] Cartridge Alignment Protractor [3] Stylus Force Gauge [4] Anti-Skating Tool [5] Turntable Cartridge Installation Tips
- A proper cartridge installation process begins with gathering required tools such as a 2mm Allen key, small flat-bladed screwdriver, small long-nose plier, tracking weight gauge, cartridge alignment protractor, stylus force gauge, and an anti-skating tool or dial.
- To ensure a smooth turntable cartridge installation, mount the new cartridge onto the arm with care, connect the lead-out wires to corresponding colored pins, set the tracking weight properly, balance the arm, and align the cartridge accurately at two positions.
- Make necessary adjustments when checking the cartridge alignment at different positions on the turntable, as the sound quality may be affected if the process isn't done correctly.
- Learn to maintain and replace the stylus assembly on a moving magnet cartridge, as these components may require replacement over time due to wear and tear.
- Don't forget to remove the old cartridge and fit a stylus guard before beginning the installation, keeping in mind that the quality of your lifestyle experience, including home-and-garden entertainment and technology, relies on the sound produced from your turntable.


