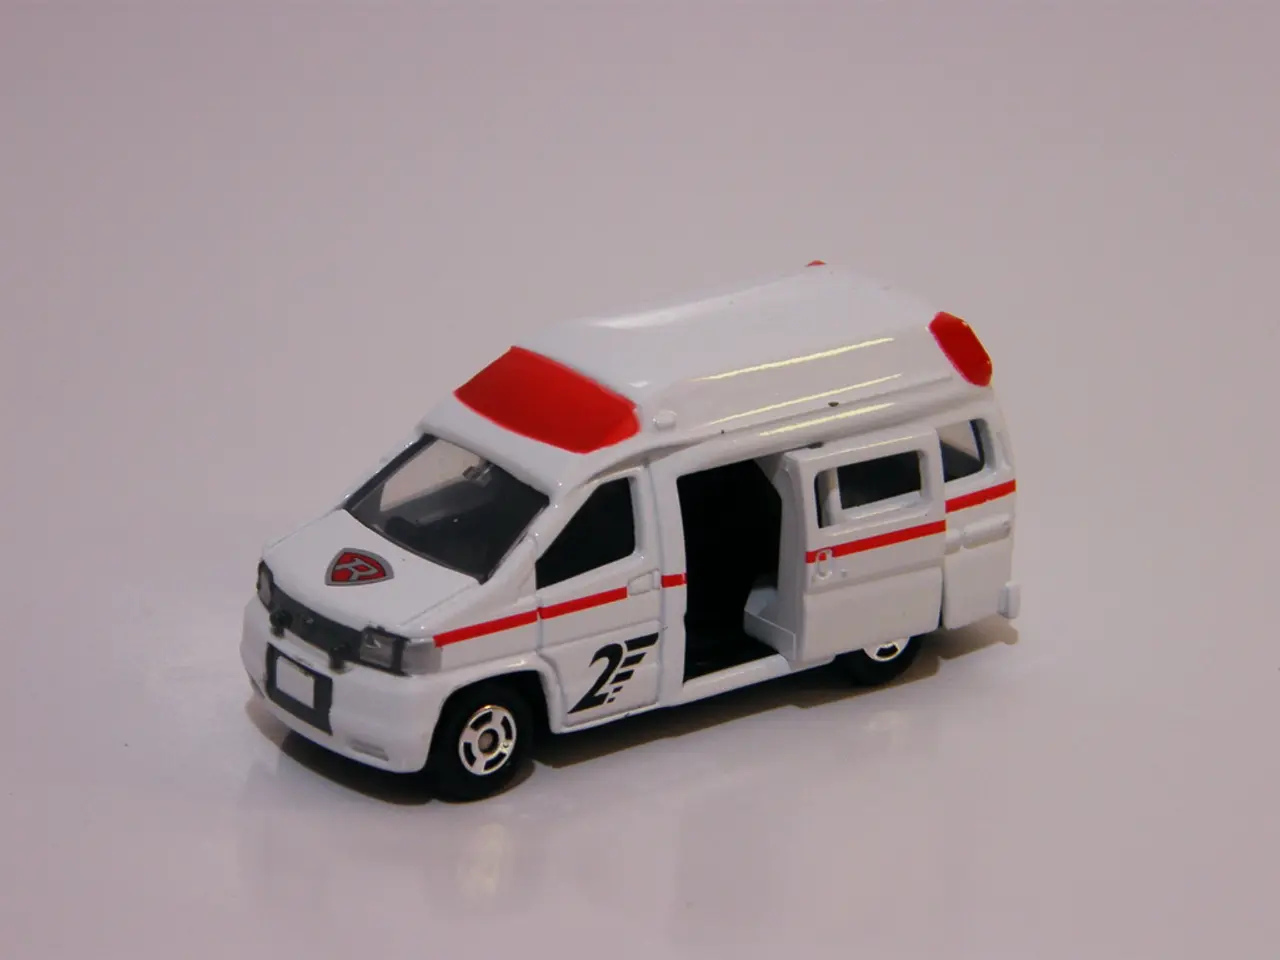
Constructing a Miniature Vehicle Akin to Noddy's Car
For many children, the lovable character Noddy serves as a captivating introduction to the magical world of Enid Blyton. However, Noddy can also be a fun and educational tool for exploring the fascinating world of physics, specifically friction and motion. Here's a practical guide on how to create a Noddy friction car for a memorable learning experience.
Materials Needed: - A lightweight body (plastic, wood, or tin) - Smooth and rigid wheels - Metal rods or sturdy sticks for axles - A friction drive mechanism (rubber band, friction motor, or a simple gear set) - A small ramp or inclined plane (constructed from wood or a sturdy board)
Steps to Make the Noddy Car: 1. **Construct the frame and body:** Create a simple rectangular base for the car’s chassis. Lightweight materials like thin wood or plastic work well.
2. **Attach wheels and axles:** Secure wheels onto two parallel axles. Make sure the axles fit tightly but allow smooth rotation. Attach axles to the chassis with some spacing for stability.
3. **Add friction drive system:** - Attach a rubber band or friction motor so that when you push the car forward, the wheels spin and store kinetic energy. - Alternatively, use a friction pad connected to the wheels that stores energy when the car is pushed and slowly releases it.
4. **Test on ramps of varying inclines:** Build or use an adjustable ramp to test how the car moves up and down slopes. Measure the friction effects by varying the ramp angle and surface material.
5. **Record and analyze results:** Observe how different surfaces (wood, carpet, metal) and angles impact the speed and distance traveled by the car.
Tips: - Keep the car’s weight light but sturdy to minimize friction losses elsewhere. - Use smooth wheels and an axle system that reduces unwanted friction. - Experiment with different friction drive mechanisms to optimize performance.
This construction approach mirrors vintage friction cars like those described in some collections of tin and plastic friction toys from the 1950s and 1960s, which often included ramps for testing friction and motion. If you want a ready reference or plans, educational science kits or DIY kits for friction cars and ramps are widely available, providing exact dimensions and parts suited for physics experiments.
Once you've built your Noddy friction car, why not bring it to life by decorating it with a black pen and attaching an image of Noddy? You can even create a map of Toyland for the Noddy car to explore, complete with friends like Big Ears, Tessie Bear, and Bumpy Dog. Happy building and learning!
Children can extend their learning experience by applying the principles of science to construct a home-and-garden project, a Noddy friction car. By following this practical guide, children can not only enhance their lifestyle by engaging in a fun activity at home but also delve deeper into the fascinating world of physics, specifically friction and motion. As kids test their cars on ramps with varying inclines, they are engaging in an interactive and educational experiment that combines creativity and science, making it easy to learn while having fun.


