Discoveries Derived from Concealed Avian Snapshots
Capturing Stunning Bird Photographs from Hides: A Comprehensive Guide
Photographing birds from a hide can yield remarkable results, offering a unique opportunity to capture intimate and natural images of avian life. Here are some effective strategies for planning and executing a successful bird photoshoot from a hide.
Location Selection and Preparation
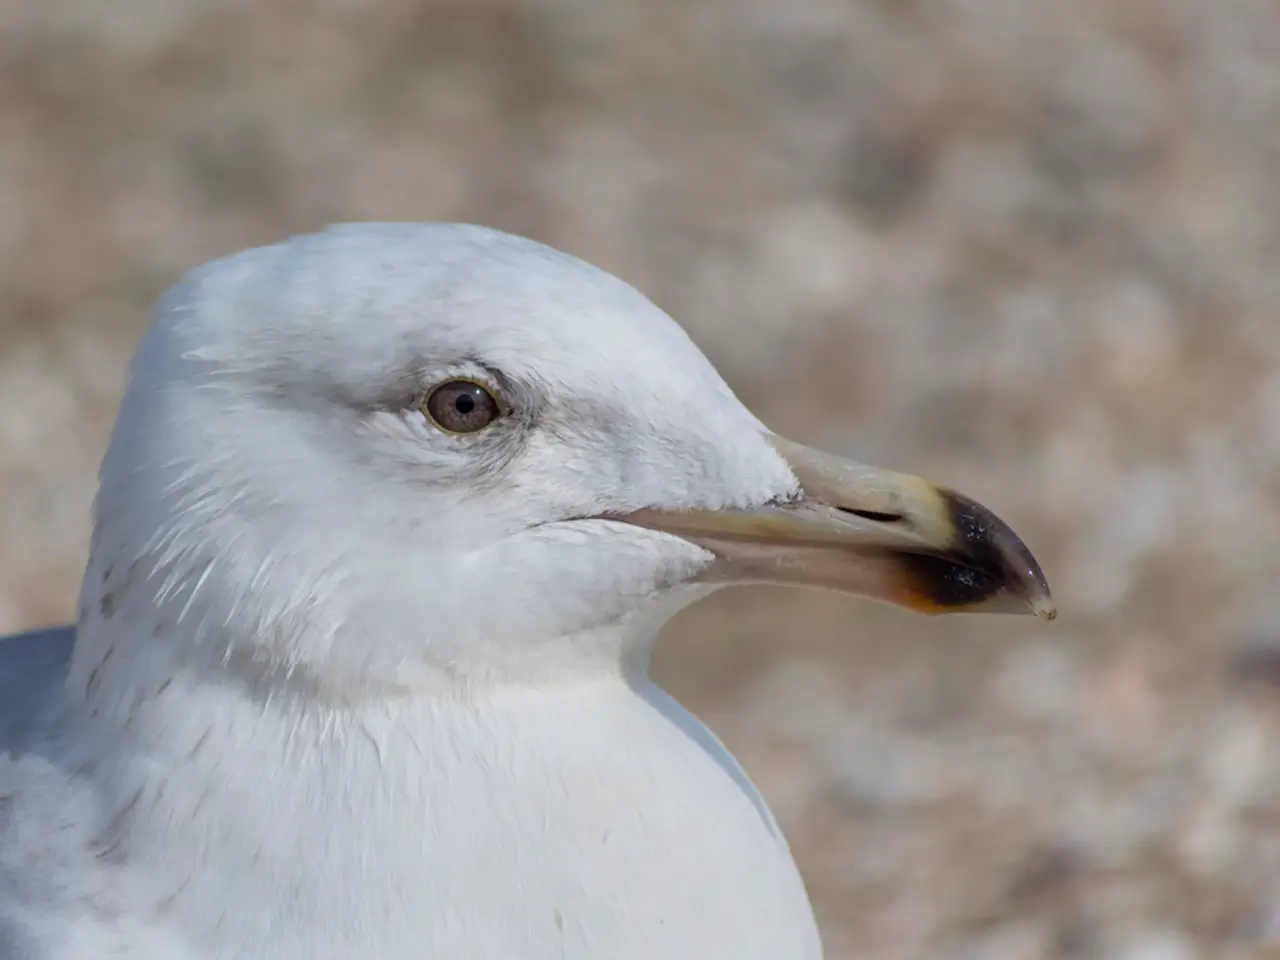
Choosing the right location is crucial. Opt for a spot where birds naturally occur, and position your hide discreetly, ideally near water, feeders, or known bird pathways. Seek permission from landowners if necessary, and modify your hide to include multiple viewing and photographing angles. Adding a low-level opening for ground-level shots can be particularly beneficial, yielding natural, intimate images. Use natural backgrounds like trees, reeds, or water to keep the scene uncluttered and provide natural framing. Positioning yourself to shoot at bird eye level greatly enhances image engagement and natural behavior portrayal.
Feeding and Attracting Birds
Setting up feeding stations with appropriate food such as peanuts or suet can attract birds closer to the hide, increasing shooting opportunities. Use natural or artificial perches like mossy branches attached near the hide to encourage birds to land in photo-friendly positions. Adjust water features such as birdbaths or reflection pools to enhance natural-looking pictures and entice birds to drink or bathe near the hide.
Camera Setup and Techniques
Use telephoto lenses (70–200mm, 100–400mm, or longer) with wide apertures (f/2.8 or f/4) for shallow depth of field, better subject isolation, and improved low-light performance. Employ continuous autofocus (AI Servo/AF-C) to track moving birds, and select a single or small group of focus points to target the eyes precisely. Use high-speed burst (continuous shooting) mode to catch fleeting actions such as flights or sudden movements. Manage ISO carefully, particularly in low light inside hides, high ISO settings (e.g., 6,400 to 12,800) combined with flash may help balance exposure without excessive blur. Consider backlighting effects, fog, mist, or golden hour lighting to add mood or drama, using lens hoods to manage flare or creatively embrace it.
By integrating these elements — strategic hide placement and construction, attracting birds via feeding and perches, and optimized camera settings and composition techniques — photographers can successfully capture compelling bird images from hides. Patience and respect for wildlife are essential throughout the process.
Remember, the hide allows for getting close to the birds, but an expensive lens is not always necessary for great shots. Positioning the camera on a tripod and pointing it at the perch before setting up the hide can help in framing and shooting angle. Experimenting with the distance at which the hide is placed and the focal length of the lens is recommended, as it depends on the bird's size. Backlighting can create a beautiful rim light around the bird and emphasize its silhouette, but be careful with exposure.
In conclusion, using a hide for bird photography can provide better chances at good shots, help understand the birds' behavior, and improve the workflow. The author encourages experimenting with a hide next time one goes out for a bird photography photoshoot.
- To attract more birds to the hide and add a lifestyle touch to your bird photography, consider setting up home-and-garden elements such as birdbaths and feeding stations.
- Regulations for bird photography within hides may vary by location, so it's important to research and comply with any applicable regulations to ensure a pleasant and lawful experience.
- When using a hide for bird photography, carefully plan the lighting in advance, considering factors like backlighting, the golden hour, and potential issues such as flare.


